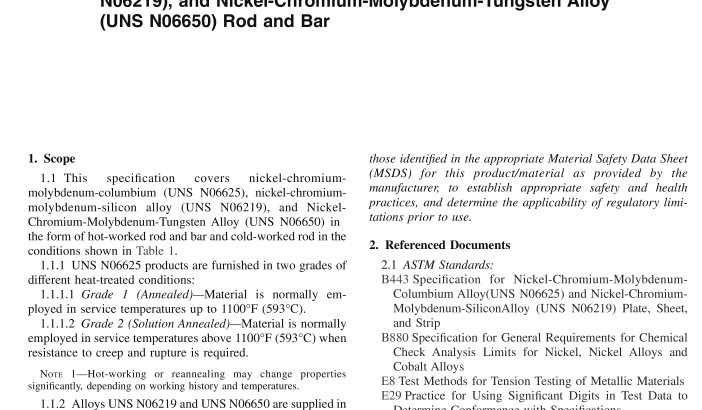
ASME SB 446-2015 pdf free download.SPECIFICATION FOR NICKEL-CHROMIUM- MOLYBDENUM-COLUMBIUM ALLOY (UNS N06625), NICKEL-CHROMIUM-MOLYBDENUM-SILICON ALLOY (UNS N06219), AND NICKEL-CHROMIUM- MOLYBDENUM-TUNGSTEN ALLOY (UNS N06650) ROD AND BAR
7. Dimensions and Permissible Variations
7.1 Diameter, Thickness, or Width—The permissible varia- tions from the specified dimensions of cold-worked rod shall be as prescribed in Table 3, and of hot-worked rod and bar as prescribed in Table 4.
7.2 Out-of-Round—Hot-worked rods and cold-worked rods (except “forging quality”) all sizes, in straight lengths, shall not be out-of-round by more than one half the total permissible variations in diameter shown in Tables 3 and 4, except for hot-worked rods 1 ⁄ 2 in. (12.7 mm) in diameter and under, which may be out-of-round by the total permissible variations in diameter shown in Table 4.
7.3 Machining Allowances for Hot-Worked Materials— When the surfaces of hot-worked products are to be machined, the allowances prescribed in Table 5 are recommended for normal machining operations.
7.4 Length—The permissible variations in length of cold- worked and hot-worked rod and bar shall be as prescribed in Table 6. 7.4.1 Rods and bars ordered to random or nominal lengths will be furnished with either cropped or saw-cut ends; material ordered to cut lengths will be furnished with square saw-cut or machined ends.
7.5 Straightness:
7.5.1 The permissible variations in straightness of cold- worked rod as determined by the departure from straightness shall be as prescribed in Table 7.
7.5.2 The permissible variations in straightness of hot- worked rod and bar as determined by the departure from straightness shall be as specified in Table 8.
8. Workmanship, Finish, and Appearance
8.1 The material shall be uniform in quality and condition, smooth, commercially straight or flat, and free of injurious imperfections.
9. Sampling 9.1 Lot—Definition:
9.1.1 A lot for chemical analysis shall consist of one heat.
9.1.2 A lot for mechanical properties testing shall consist of all material from the same heat, nominal diameter or thickness, and condition.
9.1.2.1 DELETED
9.2 Test Material Selection:
9.2.1 Chemical Analysis—Representative samples from each lot shall be taken during pouring or subsequent processing.
9.2.1.1 Product (check) analysis shall be wholly the respon- sibility of the purchaser.
9.2.2 Mechanical Properties—Samples of the material to provide test specimens for mechanical properties shall be taken from such locations in each lot as to be representative of that lot.
10. Number of Tests
10.1 Chemical Analysis—One test per lot.
10.2 Tension—One test per lot.
11. Specimen Preparation
11.1 Tension test specimens shall be taken from material in the final condition and tested in the direction of fabrication.
11.1.1 All rod and bar shall be tested in full cross section size when possible. When a full cross section size test cannot be performed, the largest possible round specimen shown in Test Methods E8 shall be used. Longitudinal strip specimens shall be prepared in accordance with Test Methods E8 for rectangular bar up to 1 ⁄ 2 in. (12.7 mm), inclusive, in thicknesses that are too wide to be pulled full size.
12. Test Methods
12.1 The chemical composition and mechanical and other properties of the material as enumerated in this specification shall be determined, in case of disagreement, in accordance with the following ASTM standards:
12.2 For purposes of determining compliance with the specified limits for requirements of the properties listed in the following table, an observed or calculated value shall be rounded as indicated below, in accordance with the rounding method of Practice E29:
13. Inspection
13.1 Inspection ofthe material shall be made as agreed upon between the manufacturer and the purchaser as part of the purchase contract.
14. Rejection and Rehearing
14.1 Material tested by the purchaser that fails to conform to the requirements of this specification may be rejected. Rejec- tion should be reported to the producer or supplier promptly and in writing. In case of dissatisfaction with the results of the test, the producer or supplier may make claim for a rehearing.ASME SB 446 pdf download.ASME SB 446-2015 pdf free download
