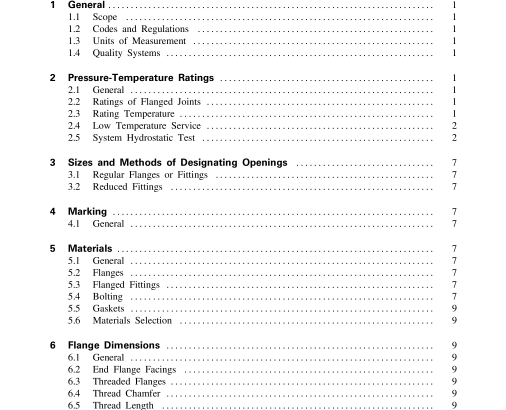
ASME B16.24-2001 pdf free download.CAST COPPER ALLOY PIPE FLANGES AND FLANGED FITTINGS: CLASSES 150, 300, 400, 600, 900, 1500, AND 2500
5.5 Gaskets Materials for gaskets are described in Annex E of ASME B16.5. The user is responsible for selection of gasket materials that will withstand the expected bolt loading without injurious crushing and that are suitable for the service conditions. Particular attention needs to be given to gasket selection if the user elects to use a hydrostatic test pressure that exceeds the test pressure specified in para. 2.5.
5.6 Materials Selection Criteria for the selection of materials are not within the scope of this Standard. The possibility of material deterioration in service should be considered by the user. A discussion of precautionary considerations can be found in Appendix F of ASME B31.3.
6 FLANGE DIMENSIONS
6.1 General Flange dimensions are dependent upon the flange casting material. 6.1.1 Alloys C83600 and C92200. The flange dimensions shall be in accordance with Tables 3 and 5 with alternative facings as permitted in para. 6.2.
6.1.2 Alloy C95200. The flange dimensions shall be in accordance with the dimensional requirements of ASME B16.5.
6.2 End Flange Facings Class 150 and 300 blind and companion flanges are regularly furnished with a flat face. Class 400 and higher companion flanges are regularly furnished with a 0.25 in. raised face, with the exception of the small male face (on end of pipe) and the small female face (on end of pipe). When using straight pipe threads, any of the flange pipe threads shown in ASME B16.5 may be used with copper alloy flanges. When flanges of alloy C83600 or alloy C92200 are furnished with one ofthe alternative ASME B16.5 facings, any required raised face dimension shall be in addition to the basic flange thickness C of Tables 3 and 5. 6.3 Threaded Flanges Threaded flanges shall have a taper pipe thread in accordance with ASME B1.20.1. Variations in alignment of the thread with the axis of the flange shall not exceed 0.06 in./ft.
6.4 Thread Chamfer All flanges of alloy C83600 and C92200 shall be made without a counterbore. The threads shall be chamfered approximately to the major diameter of the thread at the pipe end of the flange at an angle approximately 45 deg with the axis of the thread. The chamfer shall be concentric with the thread and shall be included in the measurement of the thread length.
6.5 Thread Length The length of the thread shall include the chamfer.
6.6 Thread Gaging The gaging notch of the thread gage shall come flush with the bottom of the chamfer in all threaded flanges, and shall be considered the intersection of the chamfer cone and the pitch cone of the thread. This depth of chamfer is approximately equal to one-half the pitch of the thread. The maximum allowable thread variation is one turn large or small from the gaging notch.
6.7 Threaded Flange Assembly External pipe threads used with higher pressure flanges must be longer than normal to bring the end of the pipe close to the face of the flange when parts are assembled by power equipment. The additional length and number of turns are shown in Annex A of ASME B16.5 for ASME B1.20.1 threads.
6.8 Integral Flanges When flanges are integral with fittings or valves, pairs of bolt holes shall straddle the center line.
6.9 Spot and Back Facing Flanges and flanged fittings covered by this Standard shall have bearing surfaces for bolting that shall be parallel to the flange face within 1 deg. Any spot or back facing shall not reduce the flange thickness C below the dimension required by para. 6.1. The spot facing diameter shall be in accordance with MSS-SP-9. When cutting into the hub of flanges or flanged fittings with back facing tools, the intersection shall have a radius of not less than 0.06 in.
7 FITTING DIMENSIONS
7.1 Center-to-Face Dimensions
7.1.1 Side Outlet Fittings. Side outlet elbows and side outlet tees shall have all openings on inter- secting center lines.
7.1.2 Elbows (a) The center-to-face dimensions for straight size 90 deg elbows, 90 deg long radius elbows, 45 deg elbows, and side outlet 90 deg elbows are shown in Tables 4 and 6. (b) Reducing 90 deg elbows and reducing side outlet 90 deg elbows shall have the same center-to-face dimen- sions as straight size fittings shown in Tables 4 and 6, corresponding to the size of the largest opening.ASME B16.24 pdf download.ASME B16.24-2001 pdf free download
